
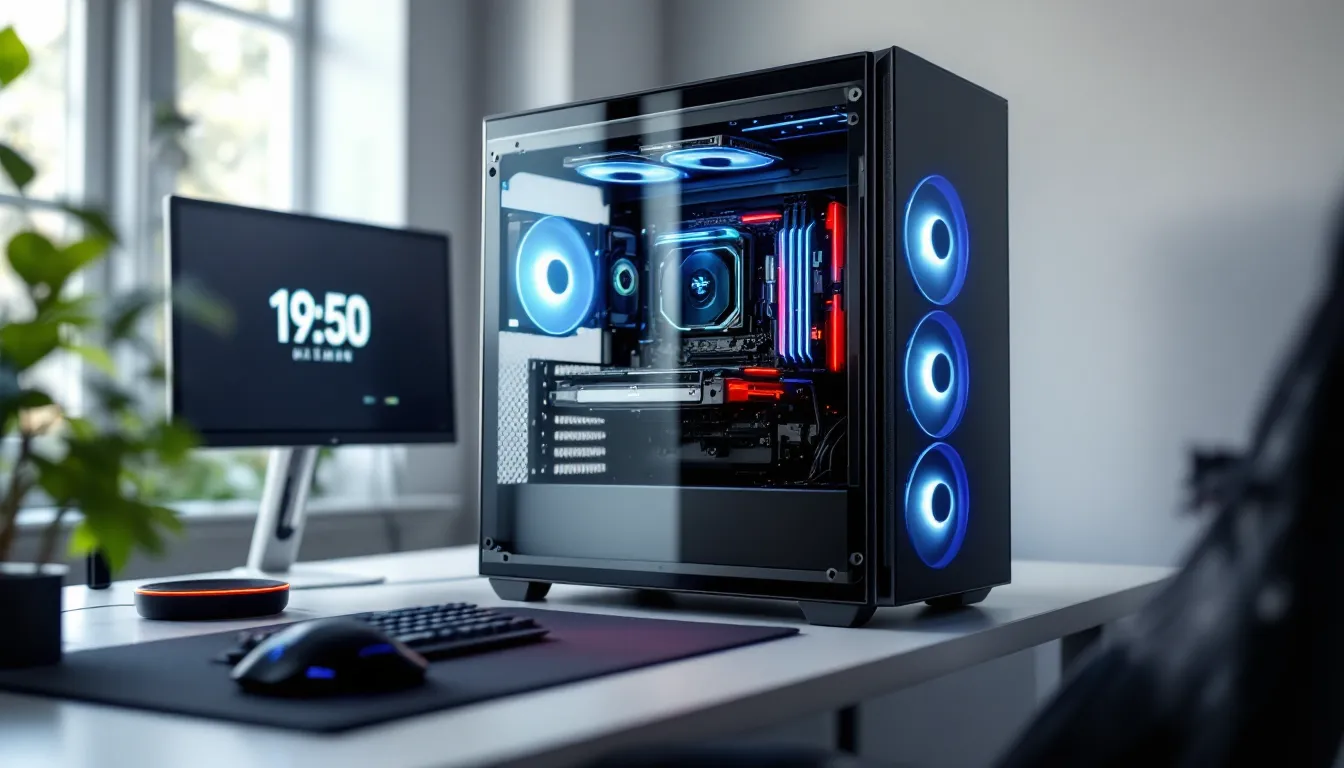
Your GPU’s hitting 85°C mid-session, your CPU’s thermal throttling during intense firefights, and that jet-engine whine from your PC is drowning out your Discord chat. Sound familiar? Most gamers obsess over getting the latest RTX 5080 or Ryzen 9 9950X, but completely overlook the unsexy component that keeps those expensive parts alive: case fans.
Here’s the reality, without proper airflow, even a flagship build will underperform. Heat kills frames, shortens component lifespan, and turns your gaming den into a sauna. The good news? You don’t need to drop thousands on custom water cooling. A smart case fan setup, with the right combination of airflow, static pressure, and noise optimization, will keep your rig running cool under pressure.
This guide breaks down everything gamers need to know about case fans in 2026, from the tech specs that actually matter to specific product recommendations across different budgets and use cases. Whether you’re building your first rig or upgrading an existing setup, you’ll walk away knowing exactly which fans to buy and how to configure them for maximum performance.
Key Takeaways
- The best case fans for gaming PCs can improve GPU temperatures by 10°C or more, resulting in sustained boost clocks and measurable FPS gains during competitive gameplay.
- 140mm airflow fans and 120mm static pressure fans deliver the optimal balance of cooling performance and noise reduction when paired in a 3 intake + 2 exhaust configuration.
- Noctua NF-A12x25 (premium), Arctic P12 (budget), and be quiet! Silent Wings 4 (quiet) stand out as top-tier options across different price points and performance priorities.
- PWM fan control via BIOS tuning allows dynamic speed adjustment based on CPU/GPU temperatures, eliminating the need for constant 100% operation and extending fan lifespan.
- Proper installation with rubber vibration dampeners, positive air pressure setup, and regular dust cleaning every 3 months maximize cooling efficiency and minimize noise over the PC’s lifetime.
Why Case Fans Matter for Gaming Performance
Case fans aren’t just about preventing your PC from melting. They directly impact your gaming experience in ways most builders don’t realize until it’s too late.
Heat Impact on FPS and Component Lifespan
When your GPU or CPU gets too hot, it throttles, meaning it intentionally reduces clock speeds to avoid damage. That translates to stuttering frames, lower averages, and inconsistent performance during clutch moments. A GPU running at 85°C might be perfectly “safe,” but it’s not running at peak boost clocks either.
Modern components like NVIDIA’s 50-series GPUs and AMD’s Ryzen 9000-series CPUs are designed to boost higher when thermals allow. Drop your GPU temp from 80°C to 70°C with better airflow, and you might see sustained boost clocks increase by 50-100MHz. That’s free performance just sitting on the table.
Beyond FPS, heat degrades components over time. Capacitors, VRMs, and memory modules all have shorter lifespans when baked at high temps for years. If you’re planning to keep your build for 4-5 years (or longer), proper cooling isn’t optional.
Airflow vs. Static Pressure: What Gamers Need to Know
Not all fans are built for the same job. Airflow fans are optimized for moving large volumes of air in unrestricted spaces, think front intakes with mesh panels or open exhaust positions. They typically have wider blade spacing and are measured in CFM (cubic feet per minute).
Static pressure fans are designed to push air through resistance, radiators, dense dust filters, or cramped cases with restricted airflow. They feature tighter blade designs and higher pressure ratings, measured in mmH2O.
Here’s the practical breakdown: use airflow fans for intake/exhaust in cases with good ventilation, and static pressure fans for radiator mounts or cases with restrictive front panels (looking at you, NZXT H-series). Mixing the wrong type won’t kill your build, but it’ll leave performance on the table.
Key Features to Consider When Choosing Gaming Case Fans
Shopping for case fans in 2026 means wading through a sea of specs, marketing claims, and RGB options. Here’s what actually matters.
Fan Size: 120mm vs. 140mm vs. 200mm
120mm fans are the industry standard. They fit virtually every case, offer the widest selection of models, and are easiest to mount on radiators. They’re the safe choice, especially for builds with strict clearance requirements.
140mm fans move more air at lower RPMs, which means better cooling with less noise. If your case supports them (most mid-towers and full-towers do), they’re often the sweet spot for intake and exhaust. Two 140mm intakes will outperform three 120mm fans while running quieter.
200mm fans are niche but effective for cases designed around them (like Cooler Master’s HAF series). They move massive volumes of air at very low speeds, making them nearly silent. The downside? Limited compatibility and fewer premium options.
For most gaming builds, a mix of 140mm intakes and 120mm exhausts hits the best balance of cooling, noise, and compatibility.
RPM, CFM, and Noise Levels Explained
RPM (revolutions per minute) tells you how fast the blades spin. Higher RPM usually means more airflow, but also more noise. Most gaming fans range from 1000-2000 RPM, with high-performance models pushing 2500+ RPM.
CFM (cubic feet per minute) measures airflow volume. A good 120mm fan should hit 50-70 CFM, while quality 140mm fans push 70-100+ CFM. Don’t obsess over this number alone, static pressure matters just as much depending on your use case.
Noise levels are measured in dBA (decibels). Anything under 25 dBA is whisper-quiet, 25-30 dBA is acceptable for most gamers, and 30+ dBA becomes noticeable during quiet scenes or focused gaming. PWM control (more on this below) lets you balance performance and noise dynamically.
The trick is finding fans that deliver high CFM without spinning at ear-splitting RPMs. Premium fans achieve this through better bearing designs, blade geometry, and motor efficiency.
RGB Lighting and Aesthetic Considerations
Let’s be honest, RGB doesn’t cool your PC. But if you’ve got a tempered glass side panel and you’re streaming or just want your setup to look sick, RGB fans are worth considering.
Modern RGB fans support ARGB (addressable RGB), which lets you control each LED individually through software like iCUE, Aura Sync, or Mystic Light. This enables complex lighting effects, color transitions, and synchronization with other components.
The trade-off? RGB fans cost 50-100% more than non-RGB equivalents and add cable management complexity. If aesthetics matter to your setup, budget accordingly and make sure your motherboard has enough RGB headers or invest in a dedicated controller.
PWM vs. DC Fans: Which Is Better for Gaming?
PWM (Pulse Width Modulation) fans use a 4-pin connector and allow your motherboard to dynamically adjust fan speed based on temperature. This means quieter operation during light tasks and ramped-up cooling when you’re pushing frames in Cyberpunk 2077.
DC (Direct Current) fans use a 3-pin connector and run at constant voltage, meaning they’re either on at a fixed speed or require manual adjustment via BIOS. They’re simpler but offer less flexibility.
For gaming builds, PWM fans are the clear winner. The ability to create custom fan curves, ramping up fans only when GPU temps hit 70°C, for example, gives you the best balance of cooling and acoustics. Most quality fans in 2026 are PWM by default.
Top Case Fans for High-Performance Gaming Rigs
Here are the specific fans worth your money in 2026, tested across different priorities and budgets.
Best Overall: Premium Performance and Balance
Noctua NF-A12x25 PWM remains the gold standard for 120mm fans. It delivers 102 CFM at 2000 RPM while staying under 22.6 dBA, thanks to Noctua’s SSO2 bearing and A-series blade design. Static pressure is excellent at 2.34 mmH2O, making it versatile for intake, exhaust, or radiator duty.
The only downside? That signature beige-brown color scheme. If aesthetics matter, Noctua offers the chromax.black version for a premium.
For 140mm builds, the Noctua NF-A14 PWM pushes 140 CFM at 1500 RPM with similarly impressive acoustics. These fans aren’t cheap (around $30-35 each), but the performance and build quality justify the cost for serious builds.
Best Budget: Affordable Cooling Without Compromise
Arctic P12 PWM PST packs ridiculous value at under $10 per fan. It delivers 56 CFM with decent static pressure (2.2 mmH2O) and includes a PST (Power Sharing Technology) daisy-chain connector to simplify multi-fan setups.
Acoustics aren’t class-leading, expect around 24-28 dBA depending on RPM, but for budget-conscious builders, these fans punch way above their price point. Arctic’s P14 variant offers similar value in 140mm format.
Buy a 5-pack for around $40, and you’ve got a complete case fan setup for less than the cost of a single premium fan. Testing from Tom’s Hardware consistently shows the P12 competing with fans costing 2-3x more.
Best RGB: Maximum Style for Your Battle Station
Lian Li UNI FAN SL-INFINITY takes RGB to another level with reverse-blade lighting and infinite mirror effect. More importantly, they’re actual good fans, not just pretty ones. Each 120mm unit pushes 61 CFM with interlocking design that reduces cable clutter dramatically.
The modularity is genius: fans snap together magnetically, with a single cable powering and controlling the entire chain. For RGB-heavy builds, this solves the nightmare of managing dozens of cables.
Expect to pay around $30-35 per fan, or grab starter packs that include the necessary controller. Compatible with major RGB ecosystems including iCUE and Aura Sync.
For those who want RGB without very costly, Corsair iCUE LINK RX fans (around $25 each) offer solid performance and Corsair’s refined RGB software integration.
Best Silent: Whisper-Quiet Operation for Focused Gaming
be quiet. Silent Wings 4 PWM lives up to its name with an industry-leading 15.5 dBA at low speeds. Even at max RPM (1600 for the 120mm variant), noise stays under 27 dBA while delivering 67 CFM.
The secret is be quiet.’s fluid dynamic bearing, optimized blade geometry, and rubberized mounting corners that dampen vibration. These fans are engineered for acoustics first, but they don’t sacrifice cooling performance.
They’re priced competitively with Noctua (around $28-32) and come in sleek all-black housing. If you game with open-back headphones, stream, or just value a quiet workspace, these are worth every penny.
Best Static Pressure: Ideal for Radiators and Restrictive Cases
Corsair ML120 PRO uses magnetic levitation bearing technology to achieve exceptional static pressure (4.2 mmH2O) while maintaining 75 CFM airflow. This makes them perfect for push/pull radiator configurations or cases with dense mesh filters.
Reliability data from TechSpot testing shows ML-series fans running continuously for years without bearing degradation, a common issue with cheaper fans on radiators.
At around $25-30 per fan, they’re priced in premium territory but deliver measurable performance in restrictive scenarios. The RGB variant (ML PRO RGB) adds lighting for about $5 more.
Alternatively, EK-Vardar fans are designed specifically for radiator use, with extreme static pressure (3.3+ mmH2O) and industrial-grade bearings. They’re louder than Corsair’s offering but dominate in pure cooling performance.
Optimal Fan Configuration for Gaming PCs
Having great fans means nothing if they’re fighting each other. Proper configuration makes the difference between good temps and great temps.
Positive vs. Negative Air Pressure Setups
Positive pressure means more intake than exhaust. This creates slightly higher pressure inside the case, forcing air out through every gap and crevice. The benefit? Dust only enters through filtered intake fans, keeping your components cleaner.
Negative pressure means more exhaust than intake. This pulls air in through every opening, including unfiltered gaps. It can improve cooling slightly in some cases, but you’ll be cleaning dust buildup constantly.
For gaming builds, slight positive pressure is the move. Run three intake fans (front/bottom) against two exhaust fans (rear/top). This keeps temps in check while minimizing dust accumulation. If you’re in a particularly dusty environment, lean harder into positive pressure.
Front, Top, and Rear Fan Placement Strategies
Heat rises, but forced airflow matters more than natural convection. Here’s the proven setup:
Front intake: 2-3 fans pulling cool air directly onto GPU and motherboard components. Use 140mm fans here if your case supports them, more airflow at lower noise.
Rear exhaust: Single 120mm fan pushing hot air out the back. This should align roughly with your CPU cooler’s exhaust direction.
Top exhaust: 1-2 fans exhausting hot air rising from GPU and VRMs. If you’re running an AIO radiator, this is typically where it mounts (more on this in a sec).
Bottom intake (optional): Some cases support fans underneath the GPU. This can drop GPU temps by 3-5°C but requires elevated case positioning to avoid choking airflow.
One crucial note: if you’re running an AIO cooler, front-mounting it as intake means your CPU gets cool air but your GPU gets pre-heated air from the radiator. Top-mounting as exhaust gives your GPU cool air but your CPU runs slightly warmer. For gaming-focused builds, top-mount the AIO, GPU temps matter more for FPS.
How Many Fans Does Your Gaming PC Actually Need?
It depends on your case size, component heat output, and ambient temps, but here’s the baseline:
Minimum viable setup: 2 intake (front) + 1 exhaust (rear). This works for mid-range builds with efficient components in well-ventilated cases.
Recommended gaming setup: 3 intake (2-3 front, 0-1 bottom) + 2 exhaust (1 rear, 1 top). This handles high-end GPUs and CPUs without breaking a sweat.
Enthusiast/overclock setup: 4-6+ fans with dedicated radiator fans if running AIO or custom loop cooling. More isn’t always better, beyond a certain point, you hit diminishing returns and just add noise.
Benchmarks from Hardware Times show that going from 3 total fans to 5 drops temps by 5-8°C on average. Going from 5 to 7+ only nets another 1-2°C. Find the sweet spot for your specific build rather than just maxing out every fan mount.
Installation Tips and Maintenance for Maximum Cooling
Buying the right fans is half the battle. Proper installation and maintenance ensure they perform as intended.
Step-by-Step Fan Installation Guide
-
Identify fan direction: Look for airflow arrows on the fan frame. Air flows from the front (side with sticker/branding) toward the mounting struts on the back. Double-check before mounting, backwards fans kill your airflow plan.
-
Mount with proper orientation: Front/bottom fans should pull air in (face the front of the case). Rear/top fans should push air out (face the back/top panel).
-
Use rubber screws or mounts: Metal screws transmit vibration directly to your case, creating annoying resonance. Rubber dampeners or silicone mounts cut noise significantly.
-
Connect to motherboard headers: Most motherboards have 3-5 fan headers. Plug intake fans into SYS_FAN headers and exhaust fans into dedicated headers if possible. This lets you create separate fan curves for intake vs exhaust.
-
Set fan curves in BIOS: Access your BIOS (usually DEL or F2 during boot) and navigate to fan control. Create a curve that keeps fans at 40-50% during idle and ramps to 80-100% when CPU/GPU temps exceed 65-70°C.
Cable Management and Fan Hub Recommendations
Multiple fans mean multiple cables, PWM cables, RGB cables, and power cables can quickly turn into spaghetti. Here’s how to tame it:
Use fan splitters or hubs to consolidate connections. Splitters let you run 2-3 fans from a single motherboard header (stay under 1A total draw). Hubs like the Corsair Commander Core XT or Thermaltake Controller handle 6+ fans with individual control, plus RGB sync.
For RGB fans, consider ecosystem lock-in. If you’re running Corsair RAM and AIO, stick with Corsair fans to use a single software suite. Mixing brands means juggling iCUE, Aura Sync, and Razer Synapse simultaneously, which is hell.
Route cables behind the motherboard tray and use Velcro ties (not zip ties, you’ll thank yourself later when upgrading). Proper cable management improves airflow and makes troubleshooting infinitely easier.
Cleaning Schedule and Dust Prevention
Dust buildup chokes airflow and forces fans to spin faster (read: louder) to maintain the same cooling. Here’s the maintenance schedule that actually works:
Every 3 months: Quick dusting with compressed air. Focus on intake fans and filters, these catch the most crud.
Every 6 months: Remove fans and deep-clean with microfiber cloth and isopropyl alcohol. Clean dust filters thoroughly (some are dishwasher-safe, check your case manual).
Annually: Full teardown and cleaning, including GPU and CPU cooler fins.
Preventive measures make this easier. Elevate your case off the floor, carpet is a dust magnet. Run positive pressure to force air through filters instead of every random gap. Consider magnetic mesh filters for unfiltered intake areas.
Common Case Fan Mistakes Gamers Make
Even experienced builders screw up fan configs. Here are the traps to avoid:
Mixing fan sizes without checking clearance. That 140mm fan might not fit once you install your GPU or AIO radiator. Measure twice, buy once.
Ignoring fan curves and running 100% 24/7. Your fans will last longer and stay quieter with proper curve tuning. There’s zero reason to run max RPM when your CPU is idling at 40°C.
Mounting fans backwards. It sounds dumb, but it happens more than you’d think. Always verify airflow direction before securing fans, especially when installing in tight spaces where arrows are hard to see.
Cheaping out on fans while buying a $200 case. A premium case with garbage fans performs worse than a budget case with quality fans. Allocate your budget accordingly.
Over-exhausting the case. Four exhaust fans and one intake creates massive negative pressure. You’ll suck dust through every crevice and starve your GPU of fresh air.
Installing AIO radiators as intake in hot climates. If your room temps regularly hit 25-30°C, pulling that through a radiator before it hits your GPU is asking for thermal issues. Top-mount the AIO as exhaust unless you live in a cooler environment.
Forgetting to enable PWM control in BIOS. By default, some motherboards run fans at fixed voltage. Check BIOS settings and switch headers to PWM mode to enable dynamic speed control.
Buying non-matching fan specs. Mixing a 2000 RPM fan with three 1200 RPM fans creates imbalanced airflow and weird pressure dynamics. Stick with the same model for all intakes, and the same (possibly different) model for all exhausts.
Conclusion
Case fans don’t get the same hype as RGB RAM or the latest GPU, but they’re what keeps your expensive hardware running cool, quiet, and at peak performance for years. The difference between a mediocre fan setup and an optimized one isn’t just a few degrees, it’s sustained boost clocks during long sessions, components that last through multiple upgrade cycles, and a gaming environment that doesn’t sound like a datacenter.
Whether you’re grabbing Arctic P12s for a budget build or going all-in with Noctua NF-A12x25s for maximum performance, the key is matching fan choice to your specific case, components, and priorities. Set up proper intake/exhaust balance, tune your fan curves, and stay on top of basic maintenance. Do that, and your rig will thank you with lower temps, higher frames, and fewer thermal throttles when it matters most.